Queue in Salesforce can be created for various purposes. Most of the objects in Salesforce support Queues; Users or Groups can be assigned to queues. For E.g. In Salesforce you can not only create a Queue but also Auto assign new Leads to a particular queue or user as well.
To create a Queue in Salesforce, follow these steps:
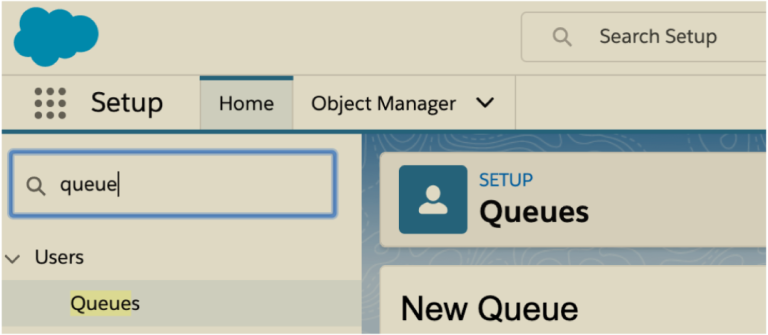
- Navigate to Setup: Log in to your Salesforce account and go to the Setup menu by clicking on the gear icon in the upper right corner.
- Search for Queues: In the Quick Find box, type “Queue” and select “Queues” under the “User Interface” section.
- Click New: On the Queues page, click the “New” button.
- Enter Queue Details: Fill in the necessary details for your new Queue. This includes:
- Queue Name: Give your Queue a descriptive name.
- Queue Email: Optionally, you can assign an email address to the Queue for notifications.
- Queue Unique Name: This is auto-generated based on the Queue Name but can be edited if needed.
- Queue Type: Choose whether it’s a Public Group or a Public List.
- Add Members: Under the Members related list add users or other Queues as members of this Queue.
- Save: Once you’ve filled in the details and added members, click the “Save” button to create the Queue.
Now, you have successfully created a Queue in Salesforce. You can use this Queue for various purposes such as assigning records, managing cases, or sharing ownership of records among multiple users.

